Table of Contents
- Essential software for graphic design
- Why Professional Software Matters
- Comparing Design Software Options
- How to Set Up Your Design Workflow
- Common Mistakes That Ruin Designs
- Frequently asked questions
- Is it necessary to use Adobe software?
- How much RAM do I need for design?
- Can I learn design on a free tool?
- What happens if I use the wrong color mode?
- Does it matter which computer I use?
- How long does it take to learn design software?
- Conclusion
Adobe Creative Cloud is widely considered the industry standard for professional creative work, as it offers the most complete set of tools for graphic design.
Essential software for graphic design
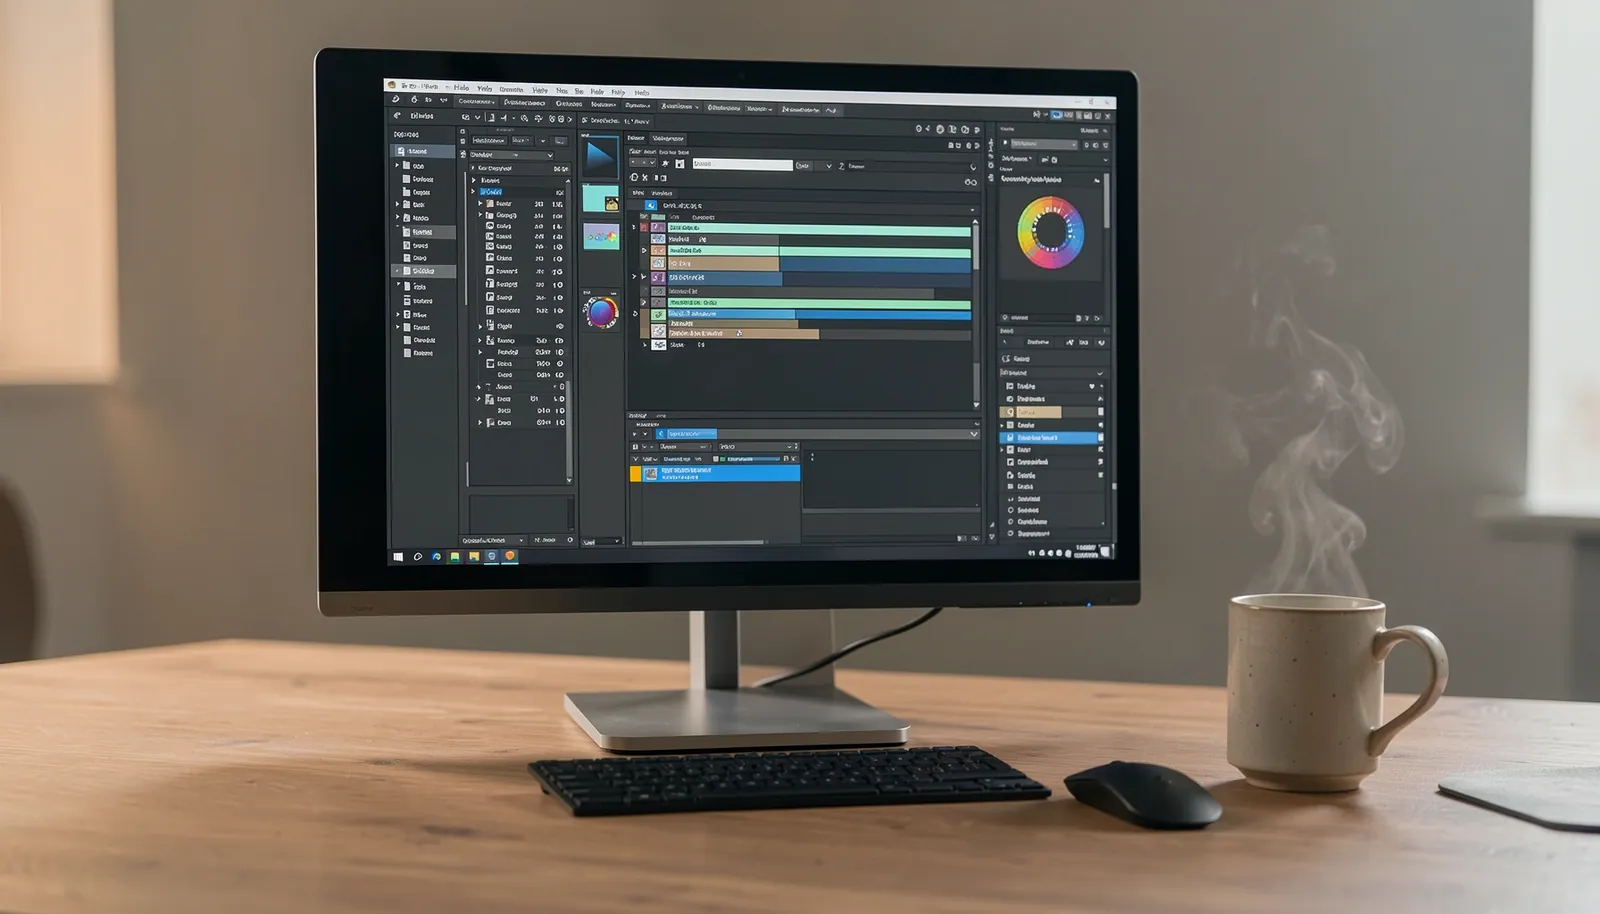
Choosing the right software depends on your specific goals and your computer setup. These tools are the most popular choices for professional designers today.
- Adobe Photoshop: The gold standard for photo editing and raster-based digital art. Use this if you need to manipulate pixels or perform complex image retouching.
- Adobe Illustrator: The primary choice for vector graphics, logos, and typography. Because it uses mathematical paths, your work scales infinitely without losing quality.
- Affinity Designer: A powerful, one-time purchase alternative that handles both vector and raster tasks. This is the best choice if you want to avoid monthly subscription fees.
- Figma: The leading tool for user interface and web design, accessible directly in your browser. Its real-time collaboration features are essential for team-based projects.
- Canva: A simplified, template-based platform for quick social media graphics and basic layouts. It lacks advanced control, but it saves hours on repetitive tasks.
- Inkscape: A free, open-source vector editor that’s excellent for learning design fundamentals. If you’re just starting, use this to master Bezier curves before committing to expensive professional suites.
Why Professional Software Matters
The industry relies on specific software because of file compatibility and advanced feature sets. Professional design requires tools that can handle high-resolution files, complex color profiles, and precise typography settings. If you use amateur software, you may find that your files don’t open correctly in a professional print shop or a client’s workspace.
Adobe tools are built to handle the International Organization for Standardization requirements for color management in digital printing. This ensures that the colors you see on your screen match the colors printed on paper. Professional suites also include cloud storage and collaboration features that allow multiple people to work on a single project at once. This is a massive time-saver for agencies that handle tight deadlines.
When choosing between software, consider your primary output. If you’re creating large-scale signage, you need vector-based software that allows for infinite scaling without losing quality. If you’re editing photographs, you need a tool that supports non-destructive editing, which keeps your original image safe while you apply changes. Most professionals use a combination of these tools to cover every part of their workflow.
Comparing Design Software Options
The following table helps you decide based on your needs and budget.
| Software | Best Use Case | Pricing Model |
|---|---|---|
| Adobe Photoshop | Photo manipulation | Monthly subscription |
| Adobe Illustrator | Logo and vector | Monthly subscription |
| Affinity Designer | General vector/raster | One-time purchase |
| Figma | UI and web design | Subscription/Free tier |
| Canva | Quick social posts | Subscription/Free tier |
If you’re a freelancer tired of recurring costs, Affinity Designer offers a perpetual license that’s much more affordable than the Creative Cloud suite.
Use Figma if your project requires real-time collaboration with developers or multiple stakeholders on a single canvas. Avoid Canva for high-resolution print work, as its compression algorithms often degrade image quality during export. If you find yourself spending more than four hours a week on basic layout tasks, the time saved by Canva’s templates justifies its monthly fee. If you need pixel-perfect precision for complex illustrations, stick to vector-based tools like Illustrator or Affinity to avoid unwanted blurring.
How to Set Up Your Design Workflow
-
Select your hardware: Ensure your computer has at least 16GB of RAM and a dedicated graphics card to run creative software smoothly. If you work primarily in 3D rendering or complex video editing, prioritize a machine with 32GB of RAM to prevent system crashes during heavy exports.
-
Install the software: Download your chosen application from the official website and verify that your operating system meets the minimum system requirements for that version. Always keep your software updated to the latest stable release to avoid compatibility bugs that can corrupt your project files.
-
Calibrate your monitor: Use a hardware color calibrator monthly to ensure your screen displays accurate colors, which is vital for print design. If you skip this step, your screen may show colors that look vibrant but print as muddy, dull tones.
-
Organize your files: Create a folder structure for every project that separates raw assets, working files, and final exports. Use a consistent naming convention like YYYYMMDD_ProjectName to ensure you can locate specific versions in seconds rather than minutes.
-
Learn keyboard shortcuts: Memorize at least 10 common shortcuts for your main tool. This habit saves roughly 30 minutes of production time per eight-hour workday.
-
Export correctly: Save your final files in the format requested by your client. Use high-resolution PDFs for print and optimized PNGs for web. If you’re unsure of the client’s needs, ask for their specific file requirements before you begin the final export process.
Common Mistakes That Ruin Designs

-
Using low-resolution images: Printing a small image at a large size makes it look blurry and unprofessional. Aim for a minimum of 300 DPI for all print projects. If your file is below 150 DPI, it will appear pixelated regardless of your software settings.
-
Ignoring font licenses: Using a font without a proper commercial license can lead to expensive legal trouble. Always check the EULA before installation. If the license is for personal use only, you must purchase a separate seat for every client project.
-
Not backing up work: Relying on one hard drive puts your entire project at risk. Follow the 3-2-1 rule: keep three copies of your data, on two different media types, with one stored off-site.
-
Overloading layouts: Adding too many elements makes it difficult for the viewer to find the main message. If you can’t remove an element, increase the negative space around it by at least 20 percent.
-
Using CMYK for screens: Creating designs in CMYK for digital viewing makes colors look dull. Always use RGB for web assets to ensure your display matches your output.
Frequently asked questions
Is it necessary to use Adobe software?
No, it isn’t necessary, as many professional designers now use Affinity or open-source alternatives. Adobe is the industry standard for large agencies because of its file compatibility, but independent designers often choose tools that don’t require a recurring monthly subscription fee.
How much RAM do I need for design?
You need at least 16GB of RAM to run modern design software without significant lag. If you work with very large files or 3D graphics, 32GB or more is recommended to keep your system responsive while multiple applications are open.
Can I learn design on a free tool?
Yes, you can learn the fundamentals of design using free tools like Inkscape or the GIMP image editor. These programs teach you the same principles of composition, color theory, and typography that you would use in high-end, paid software.
What happens if I use the wrong color mode?
Your colors will look different on screen than they do on paper if you use the wrong mode. Use RGB for any work that will only be seen on digital screens and CMYK for any project that you intend to send to a professional printer.
Does it matter which computer I use?
Yes, it matters because design software requires a good processor and screen. A high-quality monitor with accurate color reproduction is just as important as the computer’s speed when you’re doing precise work like color grading or logo design.
How long does it take to learn design software?
It takes about 3 to 6 months of consistent daily practice to become comfortable with a new design tool.
Conclusion
The right tool for your design work is the one that fits your budget and lets you complete your tasks without technical frustration.